Showing posts with label howtoguide. Show all posts
Fresh Paint - Using A Drawing To Paint With
 |
There seems to be a lot of questions on how to takes drawings and use them to paint with in Microsoft Fresh Paint. This will only work if you are using a particular image type. Anything else will not work. This guide is here to show you how you can successfully import an image into a Fresh Paint using the right image type. This is based on Fresh paint from Windows 10.
Firstly, lets pic a picture. For the purpose of this guide we are going to use this image.

This is an image i found on the internet that matches exactly how we need the file to be. The best thing to do is use googles image options to find what you need. go to images.google.com Type in what you are looking for, In this case i used the word tank. This then brings up quite a selection of images, now we need to refine our search. Click on the search tools button just below the search bar and this should bring up more search options to use.

The options we are going to use is Type and Color, For type select 'Line Drawing' and for Color Select 'Transparent'. then you should end up with something like this.

You will notice the picture we are using is the first one in the list above. Clicking on the image brings up a preview.What we are looking for is the squares in the background. If you can see these then the image is in the format for us to use in fresh paint.
Example:

Notice how the squares are in the background of both the tank and the background itself. This is the right format for Fresh Paint. From here you can simply click View Image and then save it. This is now ready to use in fresh paint. Below is an example of the wrong type of image.

Once you have your image its time to use it.Open Fresh Paint and click on the import button. Then Select Photos, From here navigate to where you saved the image. In this case it was my downloads folder.

Once you have selected the image. You will see a preview of it on the canvas and some options on the right hand side. So now its time to trim the canvas so its the same size as your image. Click on the trim button and the Canvas will shrink to the size of your image.

Before we start we also need to state we want the paint to be under the drawing. To do this click on the 3rd Tab that looks like 3 diamonds on top of each other. From here select 'Over Paint'. Now your ready!.
Click on Start Painting that's it.
Using a HB pencil, i was able to produce the following

I keep my collection of images in the cloud, all of them are suitable for fresh paint and can be imported as advised on this guide. I am constantly adding new images here as well so please do come back and check for new ones. Please also read the disclaimer below before proceeding.
Disclaimer
All images belong to there respective owners, i do not own these images. Some of the images are also of an adult nature. They are place in a folder called adult, these are not Suitable for children. Do not open if you have children with you.
How To Play Android Games on Your Windows PC
Play Android Games on Your Windows PC
Over the years i have flicked between Android, IOS and windows and finally settle on a windows phone / tablet and desktop. Draw backs of this none of the games that's available on the Google store or IOS store are available on windows store.
All those games i enjoyed playing. So why switch to a windows device then? well quite simply for me its better in every way. Smoother, crisper and easy to use and all 3 platforms work together. So where does this leave me with my games?
Well how about play them on your windows tablet or windows desktop?
Below is a guide on how you can do just that!
Contents
What Do I Need And Installation
Setting It Up
Enjoy
What Do I Need and Installation
First of all lets head over to Bluestacks (Click Here - http://www.bluestacks.com/) who came up with this wonderful idea. Click on the download button. This file is approx 13mb so not very big. Once you have downloaded it you are ready for installation.
Lunch the installation like any other. You will be asked to select your installation located et.c the last option before starting the installation is an important one. You should be looking at something like this:

You must have the App store access ticked in order to access games etc. With regards to App notifications this is optional. This will post notifications on your windows PC like it does on your phone.
Once installation has completed the software should automatically launch and you should be seeing this:

Once the software has finished it will start up and land you on this screen:

Setting It Up
The moment you try to install anything it will ask you to set up your goggle account. This is nearly identical as it is on your phone. So lets take a look at this:

As you can see this is exactly the same as the normal android. Sign in with an existing or create a new account, Once you have selected one of the 2 options you will either have to sign up or sign in. Once this is done you will see a pop up stating it needs to activate some things.

This is to enable the store and to keep your data sync with Google. This is handy because while your out and about if you have an android phone you can play on the move but then carry on where you left off on your windows tablet or desktop.
You will be asked to sign in twice. One for each service.
Once this is done you can then start installing games.
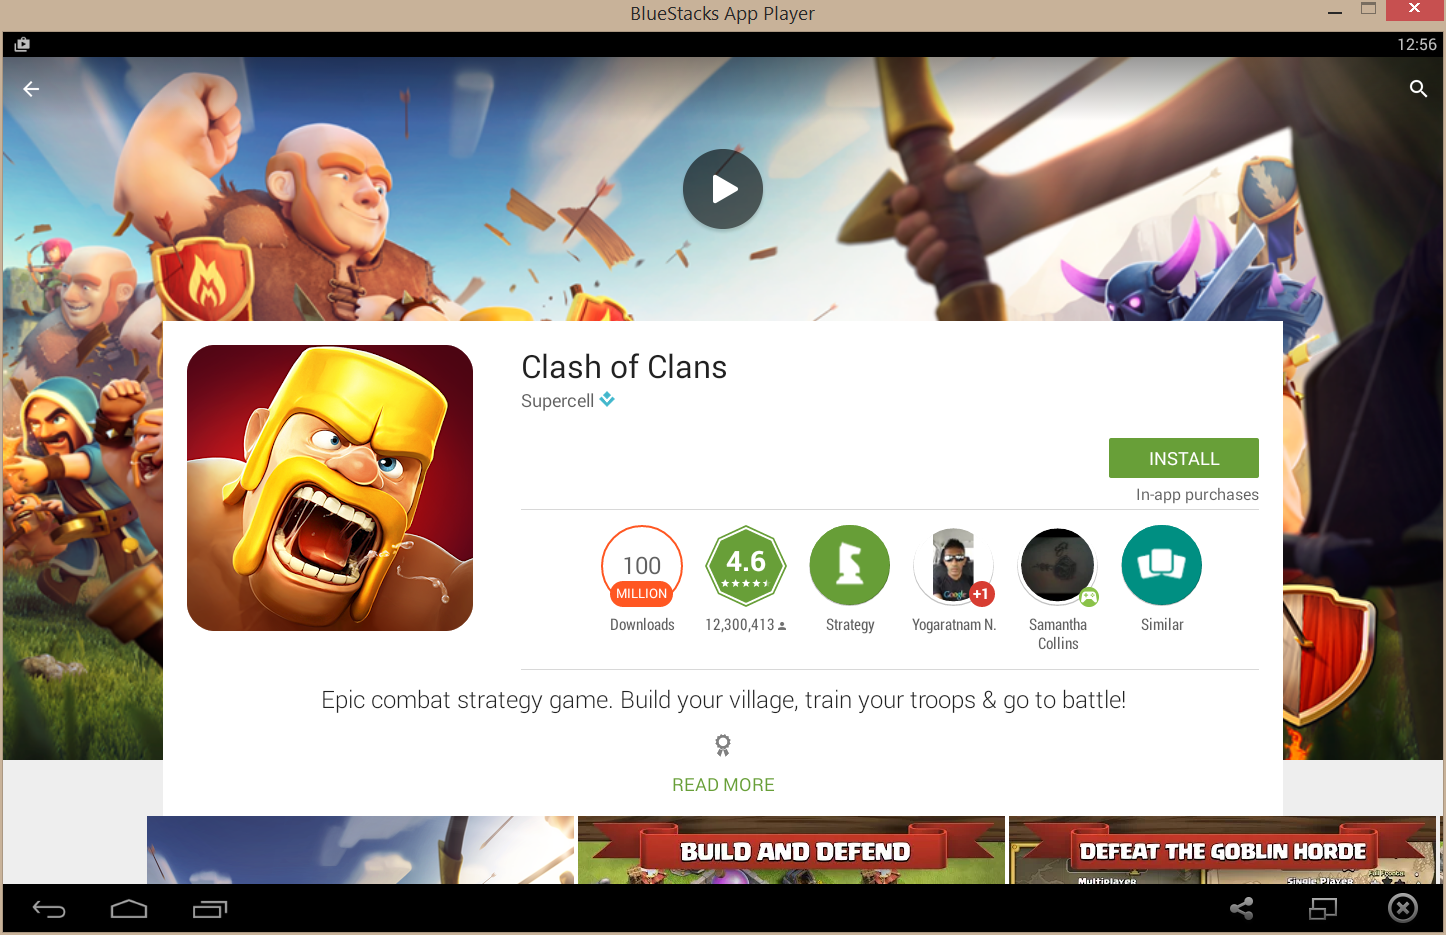
Once all the game's you want are installed you can enjoy them.

Enjoy


Demo
Simpsons
Clash Of The Clans
How To Make Your Own Netflix!

That's right!, Do you have loads of films stored on your PC? or do you own a Network Drive (NAS)? Then why not create your very own Netflix style media browser.
This 'How to Guide' will show you how to set up your very own Netflix style media browser that will work on your PC, This guide will also advise you how you can then use this on your Windows / Andriod / IOS mobile's (Even when your not in your house!)
I should point out that using this feature on your mobile will use your data allowance and you should consult your mobile operator about charges or your allowance limit.
Contents
Contents
If your thinking i cant do this its to technical, Your wrong! It couldn't be easier. This is how easy it is!

First of all lets head over Media Browser (mediabrowser.tv) and download the software needed. You will need to download 2 things. First of all you need to select a server. You can select one to suit your machine. In this guide i am doing it on a Windows 8.1 Machine.
Installing the Media Server
Once this has downloaded select your 'Living Room App' in this case we are going to download the Media Browser Theater.

Now it's time to get things started. Before we do anything you need to install the Media Browser Server. This is whats going to store all the details of your media on your device. Once launched you should see something like this:

Once this is finishes a window will open up in your browser asking you to set up your server. So here's what you need to do.

Enter your first name in the top box and your Media Browser account username at the bottom. You can use this software without having to register. However if you wish to use this while out and about one of these accounts are needed.
Now this is done its time to set up your different types of media for the server. This guide will show videos only but you can set up images and music in the same way.

Select your content type as Movies and then give it any name you wish. Once this is done you will then be asked to provide a location. Once you click okay you will see another screen asking you to provide a location. This guide shows me adding my Network drive (NAS) as the location. However any location will do fine.

Once you have selected your location you will be asked you set some config settings. For this you want to make sure both options are ticked.

This is it. The basics of this server is now set up. You should then be asked to agree to the terms and conditions of using the software and then presented with a Your Done! screen. Once you are signed in you should be seeing something like this:

Now the server is up and running its time to set some settings. Click on Metadata (a set of data that describes and gives information about other data.). The basics will already have been set up during the installation. Click on the services tab. Make sure all the below are ticked.

For the image settings i have chosen this. You can however tick which ones you want and don't want.

Click save to save these settings.Your server is now ready to use!
Installing the Media Browser

Once this goes the software will load. As long as the server is set up right you should then be looking at this screen.

You will notice the name you stated at the beginning of the server installation. Select this user and you will be taken to the home screen.
It should look a bit like this.

You will notice that not all the movies have a cover on them yet. Depending on how many films you have will depend on how long it will take to retrieve this information.(This is automatic so you don't need to do anything)
From here it will display any new movies added to the collection (All you have to do is place the movie into a folder you had selected at the time of installing the server and the software will do it all by itself.
Select the Movies tile from the bottom right hand corner. Once all movie information is downloaded you should see something like this:

Pretty cool huh!? But there's more. Select your movie! and more information will appear.

From here you can play your movie or watch a trailer. All information on your movies is provided by 2 sources. IMDB and TheMovieDB
Accessing Your Server via Your Mobile Device
Go to your mobile store and search for 'Media Browser'. If you have linked your media server with your Media Browser account then once you sign in your server details should be stored and displayed on screen.
If you have not linked your account you can do this by right clicking on the icon in your task bar and selecting Configure Media Browser. This will open up a window in your internet browser. From the menu on the left select users. Click on the user you wish to link the account with, This will bring up more options.

Once you are registered and you server is linked you should receive an e-mail asking you to confirm the link. Once confirmed the server on your PC will be accessible outside of your house.
Things you should be aware of!
During installation of this software you may receive a notification from your firewall to allow access. This is required in order to work so please remember to select yes.


Disclaimer!
This guide is intended to help you to setup a media browser so its just like Netflix. The software used in this blog is a 3rd party software. I am not responsible for this software and you use at your own risk,


