Tuesday 24 September 2013

Over the course of the last few days i decided to install Mac OSX 10.6.2 Snow Leopard onto a Windows 7 / 8 PC. Luckily for me there are plenty of guides on the internet that will help you do this. However a lot of these guides are out of date, Don't actually provide all the files required to do this. So i have decided to wright a new guide. For the purpose of this guide i will be showing screen shots from a +Dell Inspiron One PC on Windows 7. However i have used this exact same method for my Windows 8 Tablet
To start with below are links to all the program's that i used in this guide.
- VMware Workstation 10 (Trial Version)
- Pre configured Mac VMX files
- Snow Leopard 10.6.1 / 10.6.2 (Intel/AMD) made by Hazard
- uTorrent
- WinRar
- Mac OS X v10.6.6 Update
- 10.6.6 Legacy Kernel
Contents
Install VMWare
Setting Up VMWare
Installing Mac OSX
Setting Up Screen Resolution
Updating your Mac to v10.6.6
Mapping Network Drive's + File Sharing
Optional Extra's
Useful Mac Software
Final Overview
Final Overview
Install VMWare
VMWare i'm afraid is only free for 30 days however you can purchase this product. Once you have downloaded VMware, Start the installer there's nothing special to set up at this stage. Choose the typical installation option, you will get to a stage where it asks you for a license key just click skip.
Setting Up VMWare
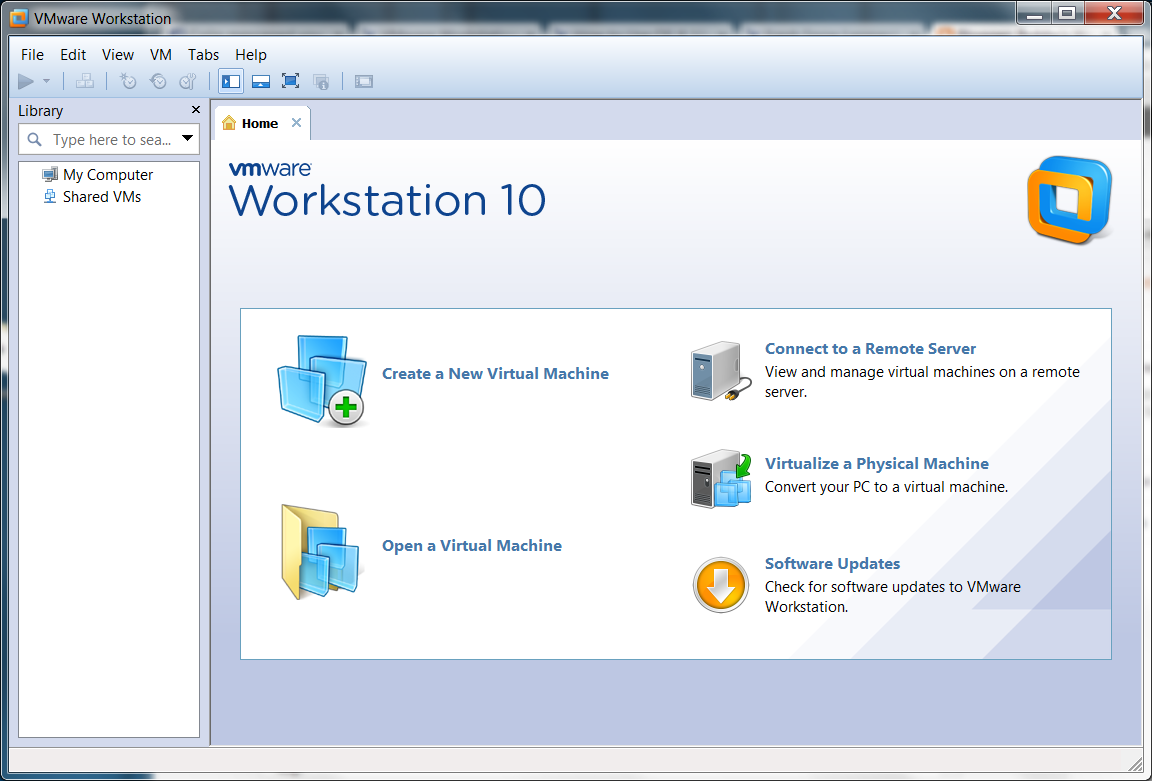
Once you have installed this open VMware Workstation on your desktop. This is what you should be looking at:
 |
| Click Image for Fullscreen |
Now its time to make use of the Pre-configured Mac VMX files. You will need winrar to extract them. PLEASE NOTE where ever you place the extracted files is where your VM will run from. For purpose of this guide i have placed it on the desktop.
In VMware go to file and select open. Browse to where you have stored your extracted files. Keep opening the folders until you get to the below:
Make sure you select the 2nd option. Once selected this is what you should see:
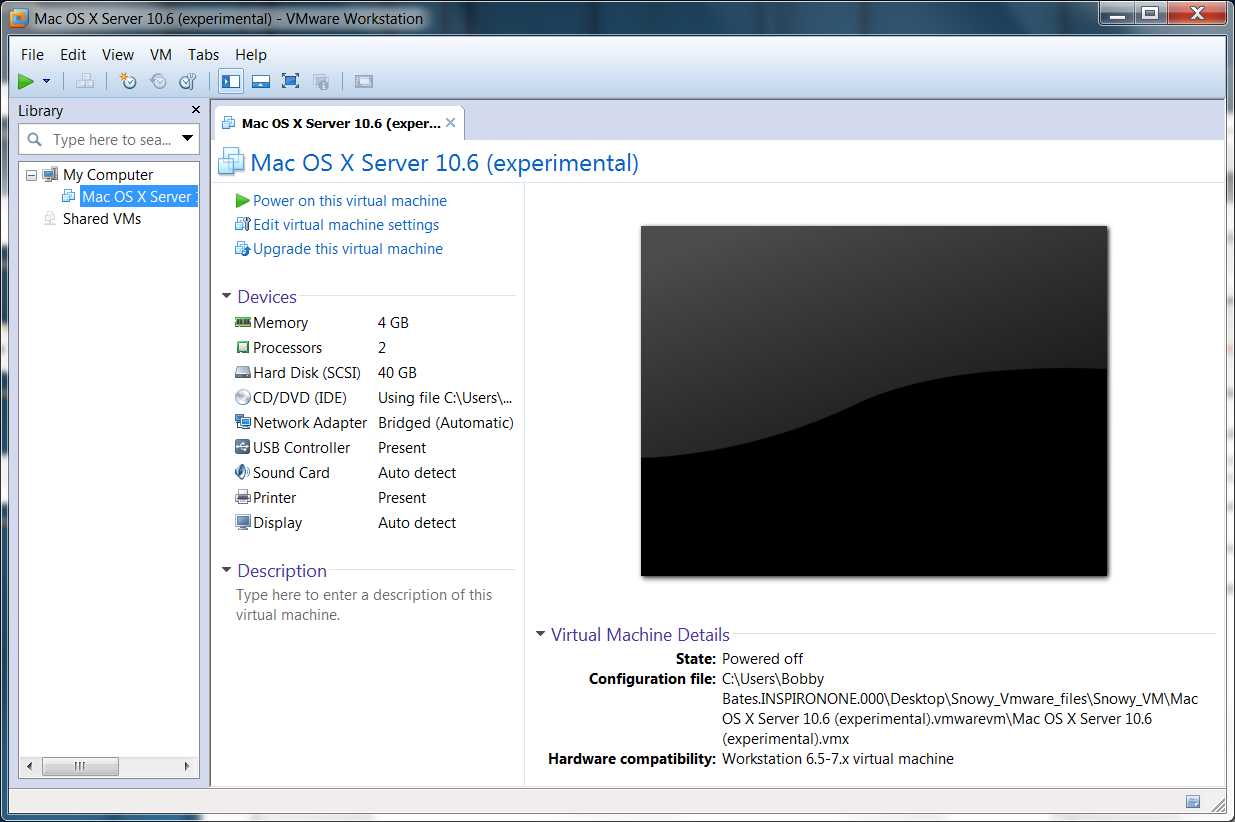
The reason for these files is VMware Workstation 10 officially doesn't support MAC OSX. these files will make it support it. Now we still need to change a few settings As per the previous guide click on Edit virtual Machine.
First things first Memory. Here same as the previous one i selected 2gb. This should be more than enough for this.

Once this is done you will need to download files 5 and 6 from the top of this page. Download these via Safari. Once you're done, click "Machine" via the Right Ctrl + Home button and "Take Snapshot". Basically, this saves your machine's current state, so if you accidentally make Mac OS X blow up while updating, you can just restore it to your previous state.Now load your update file and click install
Once completed it will ask you to reboot the machine. Don’t do it yet! Install the Legacy Kernel too.

In VMware go to file and select open. Browse to where you have stored your extracted files. Keep opening the folders until you get to the below:
 |
| Click Image for Fullscreen |
 |
| Click Image for Fullscreen |
First things first Memory. Here same as the previous one i selected 2gb. This should be more than enough for this.
 |
| Click Image for Fullscreen |
Now set your processors as follows:
 |
| Click Image for Fullscreen |
You can try and use more than 1 core per processor but i cannot guarantee it will work with more than 1. Now click on CD/DVD and selected use ISO image. Click browse and go to the same folder as before you need to select this file:
 |
| Click Image for Fullscreen |
Now your VMware should look like this:
 |
| Click Image for Fullscreen |
Installing Mac OSX
believe it or not this is now ready to install MAC OSX. So the next stage is to power up your virtual machine. This is where it changes from the previous installation. Once you get to this screen:
 |
| Click Image for Fullscreen |
As you can see this is bringing back errors at the moment this is normal. At the bottom of the window there is a picture of a CD/DVD. Right click on this and select settings. You should now be looking at this screen again:
 |
| Click Image for Fullscreen |
Same as before select drowse and go to your MAC OSX ISO. Click Okay. Right click on the CD/DVD again and click connect. This has to be done this way because of VMWare Workstation 10 not support Mac. You should now see this on your screen.
 |
| Click Image for Fullscreen |
after a few mins the MAC OSX installation should start. when you get this this screen make sure you click customize:
 |
| Click Image for Fullscreen |
unlike virtual box you do not need to install and boot loaders as we already have this. Again if you are on an AMD machine make sure you select AMD. i should note that some apple apps require X11 or Rosetta so i recommend installing this.
 |
| Click Image for Fullscreen |
Just a word of advice some machines do not like the system tools if you get an error message saying the CPU has been turned off un-select all of the system support option.
Do you see this screen?
 |
| Click Image for Fullscreen |
Congratulations you have installed MAC OSX. However there is a few more tweaks we need to make. First of all before the timer runs out press Ctrl + Alt this will bring you out of the VMware window. Go to VM and hover over power. And select power off.
If you remember we changed the CD/DVD iso for installation. We now have to swap this back to to this:

 |
| Click Images for Fullscreen |
This file will need to stay attached at all times in order for MAC OSX to work in VMWare however once attached you wont need to change this again.
power on your your virtual machine and complete the registration process. once complete you should see this:
 |
| Click Image for Fullscreen |
Setting Up Screen Resolution
To do this on VMWare is actually very easy. Power off your Virtual Machine and click edit virtual machine. Select display and change the settings as follows:
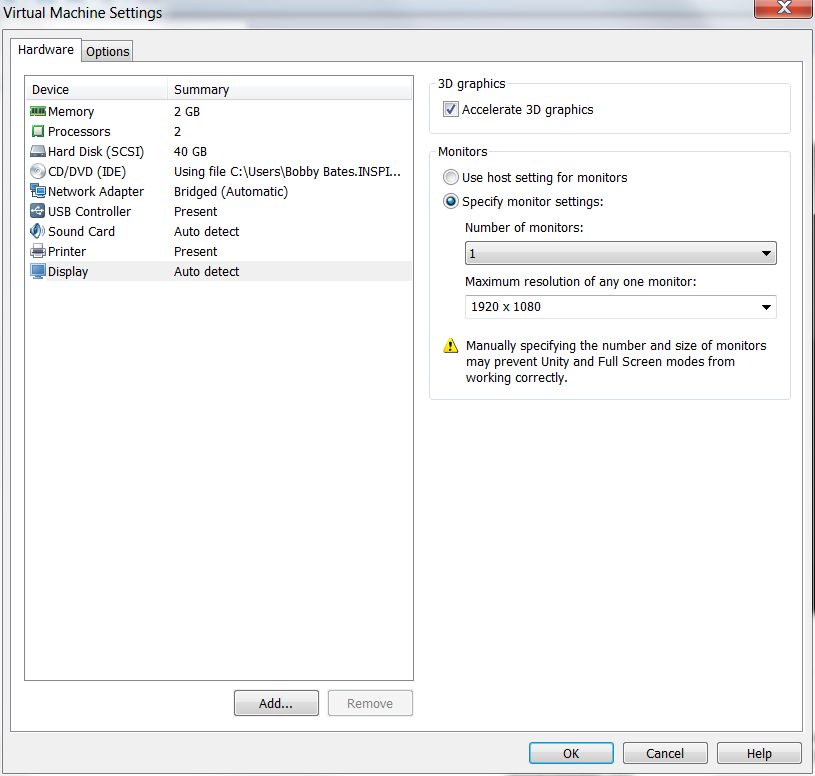 |
| Click Image for Fullscreen |
Enable 3D Graphics and manually change the screen resolution. Once done click Ok. Power up your virtual machine. you will notice that your screen still may not be full screen this is because you need to turn full screen on in the options tab. i would recommend doing this after you have finished installing the updates and audio etc.
 |
| Click Image for Fullscreen |
Updating your Mac to v10.6.6
I recommend to switch off all update notifications. To do that, just click on the top-left Apple logo, go to System Preferences, and in Software Update, un-tick “Check for Updates”. Even if you don't update your Mac OSX it is advisable to do this because if it auto updates without the kernel files then this will break your MAC OSX. |
| Click Image for Fullscreen |
 |
| Click Image for Fullscreen |
Once completed it will ask you to reboot the machine. Don’t do it yet! Install the Legacy Kernel too.

 |
| Click Images for Fullscreen |
When you get to this screen if you are on an Intel based PC leave the default as selected. However if you are running an AMD machine i would recommend using the second option as well.
Once this is installed power down your virtual machine. Its as simple as this. Once re-booted you should be running on the new update. I used 10.6.6 to start with to see if this will work. there are a lot more newer updates you can use. Just remember if you choose to use a different update than the one used in this guide you will also need to down load the right kernel for this. for example if your using 10.6.8 then search for 10.6.8 kernel for Mac OSX in Google. You might notice the first time you start up MAC OSX after the update that on the grey loading screen it might go back to re-booting. This i found is normal as its saved the new settings and re-started. On the second re-boot your Mac OSX should load fine. To see if your update has worked go to the apple sign and select Either About this Mac (I have noticed this does not work on every Virtual Machine) if it doesn't work then you can go to system preferences and select software update. Go to installed software and it should show the update there.
So you might ask why do i need to update if the install is working fine? Well i have noticed that a lot of the new MAC software state's it cannot install as the version on MAC OSX is out of date. Doing this should fix this issue. |
| Click Image for Fullscreen |
Mapping Network Drive's + File Sharing
The reason why i mention this is because not everyone is fluent in how to use a MAC. Most guides will advise on how you can share folders on your PC with MAC OSX. There are also guides advising how you can share folders via SMB (Server Message Block) protocol. You will need this to be able to access shared folders on your windows PC. to do this click on the Apple logo in the top left corner and select 'System Preferences' select the option for file sharing and tick 'File Sharing' Click on options and select as per the picture below:
 |
| Click Image for Fullscreen |
Once this is done you will need to install VMWare tools. To dot his right click on the CD/DVD icon and click connect you should see VMWare Tools appear on your desktop. Open this and install VMWare tools.
 |
| Click Image for Fullscreen |
once installation has completed power off your virtual machine. Now MAC OSX is set up we need to select the files we wish to share. Click edit virtual machine and go to the options tab. select file sharing and enable. next click add and browse to the folder you wish to share once this is done it should look like this:
 |
| Click Image for Fullscreen |
click okay and restart your machine. once your mac desktop has appeared you should see a folder under the name of 'VMWare Shared Folders' If you click on this you will see the contents of your shared folder.
 |
| Click Image for Fullscreen |
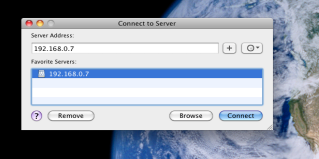
I also have a media server on my network. If you have a network drive you can connect to this b Clicking on 'Go' at the top of the screen and select 'Connect To Server'. you should now see this appear:
 |
| Click Image for Fullscreen |
Type in the IP address of your network drive and click the plus sign. Then press connect. You should now see this appear:
 |
| Click Image for Fullscreen |
For the purpose of this guide i have signed in as guest. However if you do this then the drive will not stay on your desktop. So when you reboot your machine you will have to follow this process again. If you sign in with a registered user (What ever username and password that's set on your network drive) then this will keep the drive on your desktop.
Once you click connect the drive should appear on your desktop and a new window will open with the contents of your drive.
 |
| Click Image for Fullscreen |
Cannot do any of the above? I found on my windows 8 Tablet the default network settings worked fine and aloud the device to connect to the internet. However the same settings did not work for my Windows 7 PC. So before i powered my virtual machine up i changed the network settings to NAT instead. This seem to fix this issue.
Optional Extra's
Unlike other software there is actually nothing you need to do here as long as USB is turned on in your virtual machine settings VMWare will automatically connect your devices. By default however these will not connect to Mac OSX until you request this. To do this simply click on VM
However if you want use of sound from your device you will need to set this up. In the Pre configured Mac VMX files there is a file called EnsoniqAudioPCI.mpkg.tar place this onto your desktop and run the installation file. Once opened you should see this:
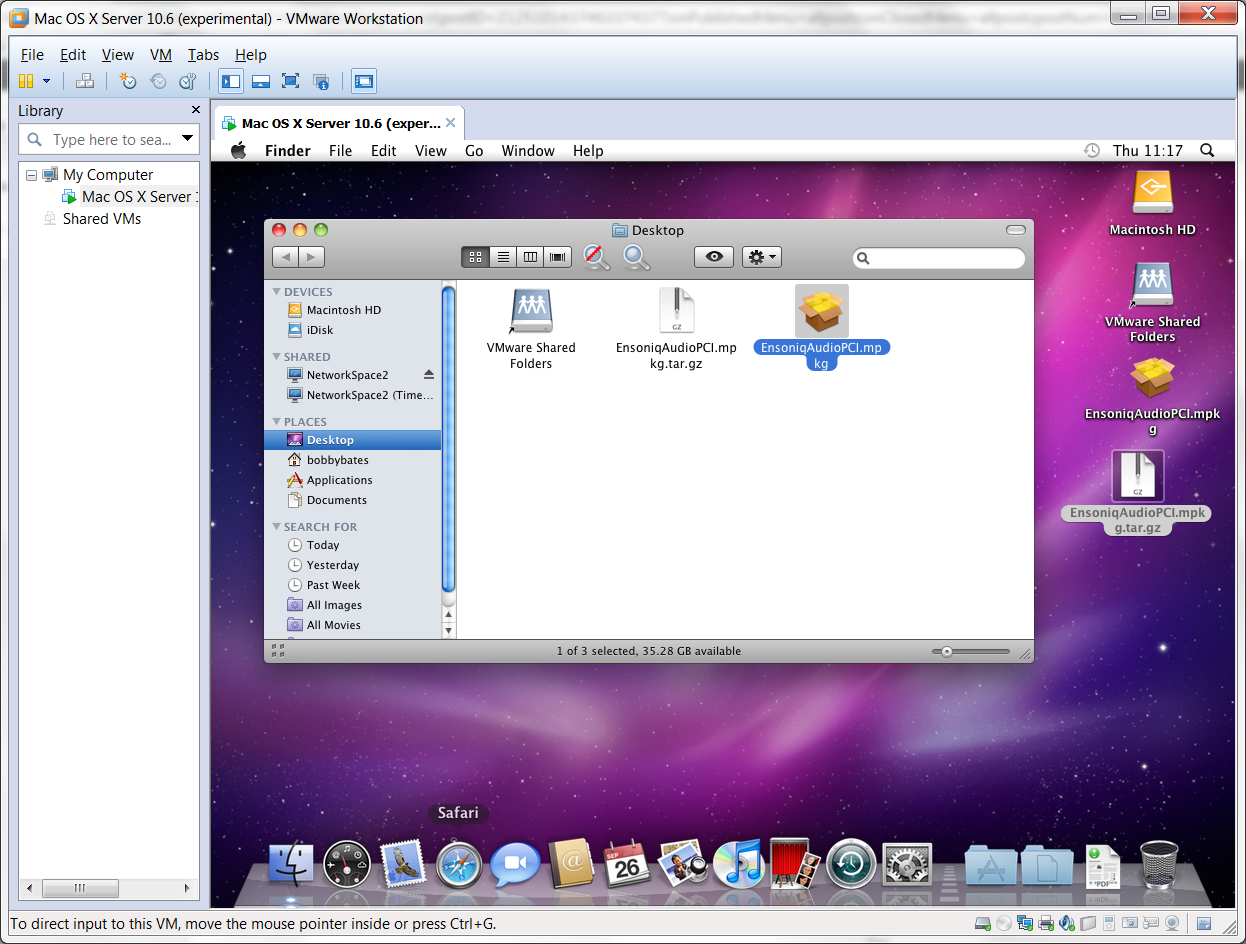 |
| Click Image for Fullscreen |
Run the mpkg file. This will being the installation of your audio files. Once installation has completed power off your virtual machine. When it restarts you should now have audio. There is 1 thing i should point out. Before installing the sound drivers i would recommend taking a snapshot. This is like windows restore. to do this simply click on VM and hover over Snapshot. Select take snapshot. If for some reason your virtual machine fails this is a good way of restoring it without having to re-install. I noticed once i installed these on my Windows 7 machine the virtual machine would freeze on boot up. However on my Windows 8 tablet it did not.
There is 1 other extra i thought i would add. On my Windows 7 PC i don't need this to start up automatically. However on my Windows 8 Tablet i have created a local profile where Mac OSX starts up after login. So how do we do this?
First of all create a text document save it anything you like, make sure you change the file extension to .BAT. Open this .BAT in note pad and put the following:
cd "\Program Files (x86)\VMware\VMware Workstation"
vmware -x "C:\<Location of Extracted Files>\Snowy_VM\Mac OS X Server 10.6 (experimental).vmwarevm\Mac OS X Server 10.6 (experimental).vmx"
Exit
Save this file and place it in your windows start up folder. When you login your MAC OSX will start up automaticlly.
Useful Mac Software
This section is just some useful programs for Mac OSX that you might find useful.
These are just some basic Free Mac Software that i found to be good.
Disclaimer
All of the software used in this guide has not been created by me. They belong to there respective owners. use at your own risk. I will not be held accountable for any loss of data while following this guide. I have provided all the files to safe guard users from dodgy sites. All software has been virus scanned.
Final Overview
I have now offered 2 different ways to installing Mac OSX onto a Windows 7 / Windows 8 PC
Via Virtual Box
Via Vmware
So i guess the question is... which on is better? To be truly honest with you although virtual box is a good software and many people use this for MAC OSX i would recommend VMware. It is easier to set up, And runs a lot smoother. Also i could not get file sharing working in VirtualBox but worked very smoothly with VMWare. VMWare also seems to have better compatibility with windows components ware as Virtual box does not.


